If you would like to try cultivating mushrooms at home but do not want to delve into sterilization techniques or how to start a mushroom culture, then you have arrived at the right place. This page is all about easy low cost methods that do not require any complicated techniques or expensive equipment. At the bottom of this page you will find resources for those more complicated methods.
When it comes to mushroom cultivation there are ready made mushroom kits that can be kept indoors, wooden dowels for inoculating logs, and blocks of mushroom spawn to inoculate straw bales, piles of wood chips or your garden beds.
Cultivation with Spawn Blocks
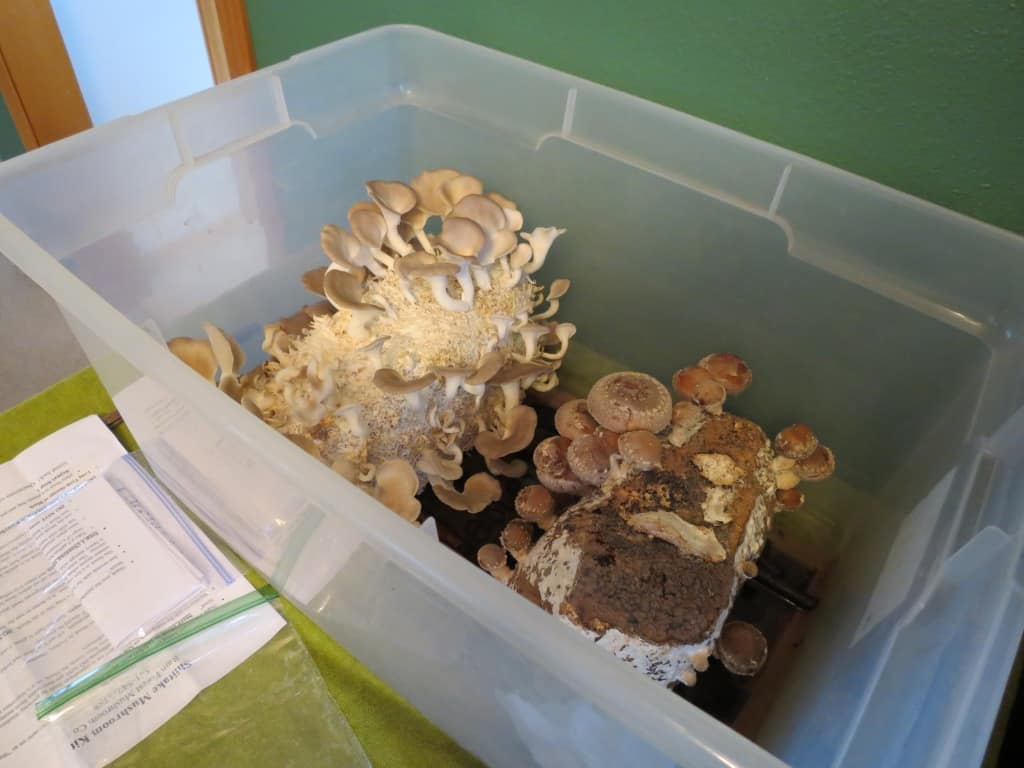
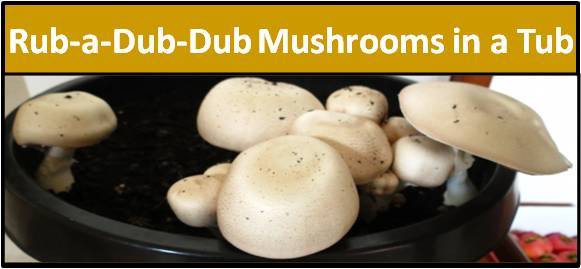
Indoor cultivation is probably the easiest to start with since the kits are usually days away from fruiting. While kits come in various sizes and container types, the ones here are simply solid blocks of inoculated organic matter. I placed these blocks in a plastic tub which acts as an incubator. Under these blocks are layers of newspaper that are kept moistened to maintain a beneficial amount of humidity within the tub. Strips of wood are then placed on the newspaper to keep the blocks from directly contacting the newspaper.
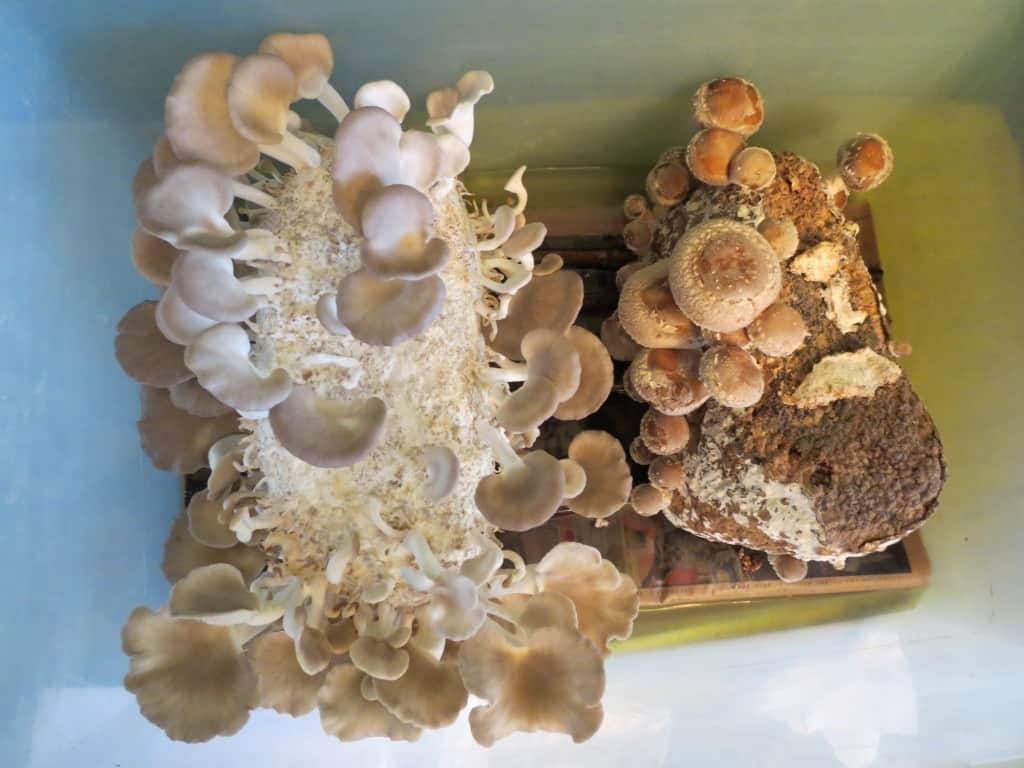
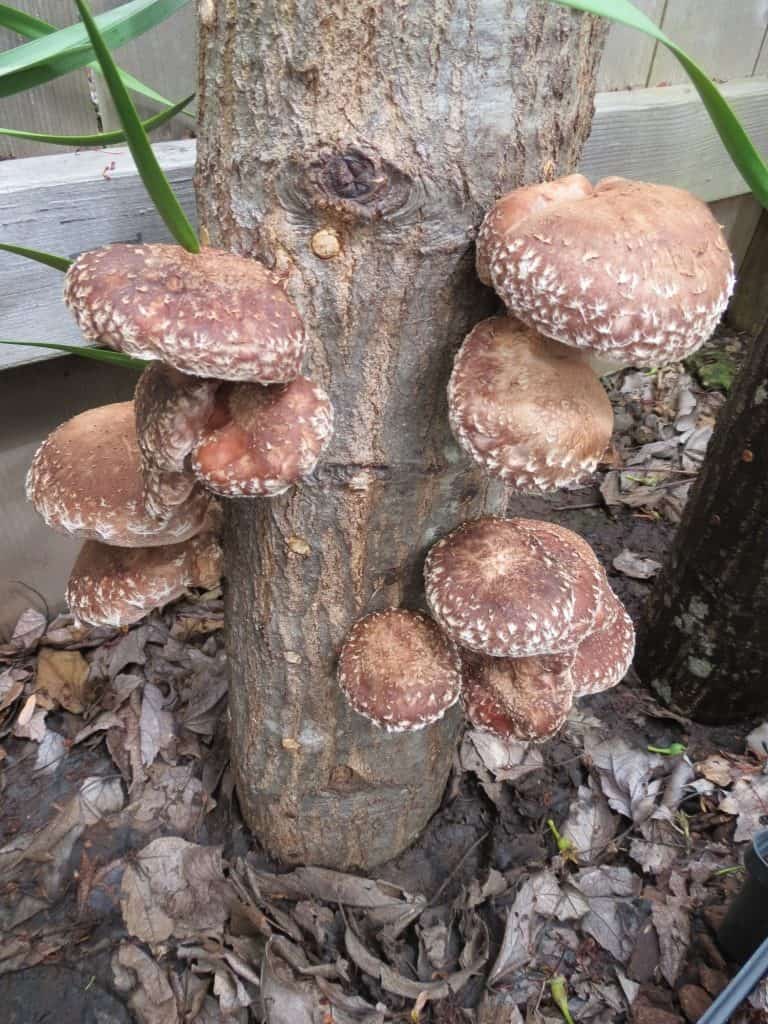
This allows for full airflow around the blocks and reduces the risk of accidental contamination. Once everything is in place, I cover 90% of the tub with its plastic lid to keep the moisture in the tub but allow enough of a gap for air circulation. Generally, within a week you are picking fresh home cultivated mushrooms. The delicious mushrooms pictured here are oyster (left) and shiitake. Just remember to harvest them within a few days after they emerge, otherwise if you give them time to produce spores, you’ll think it had snowed in your incubation tub. By following the instructions that come with your kit, you can usually get two or more flushes of mushrooms from the same block.
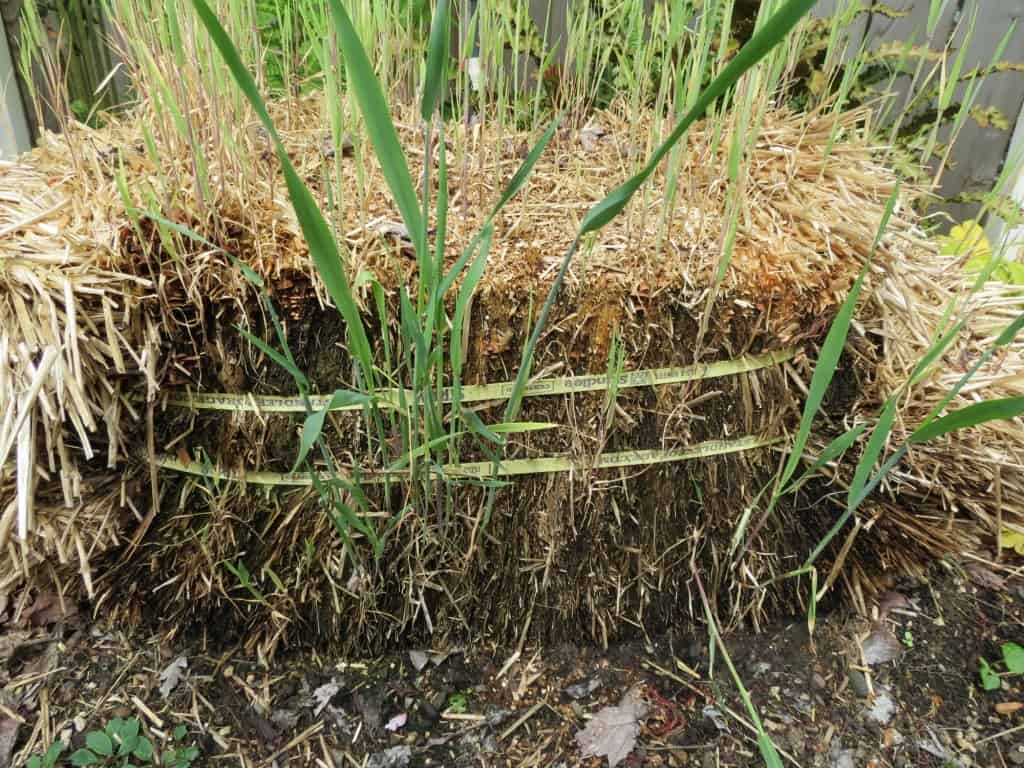
When you’re done with the mushroom block, don’t throw it out since it is still full of active mycelium. I used both of these blocks in ways that will allow them to reenergize the mycelium and start the fruiting process all over again. To reuse the oyster mushroom block I bought a compressed bale of bedding straw at a local farm store (Coastal Farm and Ranch).
Any size bale of straw will work as long as it has not been sprayed or treated. Chemicals in the straw can inhibit mycelium growth and if mushrooms do form they will contain trace amounts of those chemicals. Simply place the straw bale in a shady spot, cut holes in the straw and push pieces of the mushroom block into those holes. Then layer some of the straw back over the holes so no mycelium is exposed to the air. Keep the straw bale moist and you are on your way to creating more oyster mushrooms. Since no seed inhibiters were used on the straw bale I purchased, some of the seeds sprouted. The grasses are using the straw as a growing medium and while a little strange looking, they will not have any negative effect on the mycelium. You can pull these out but I choose to let nature take its course.
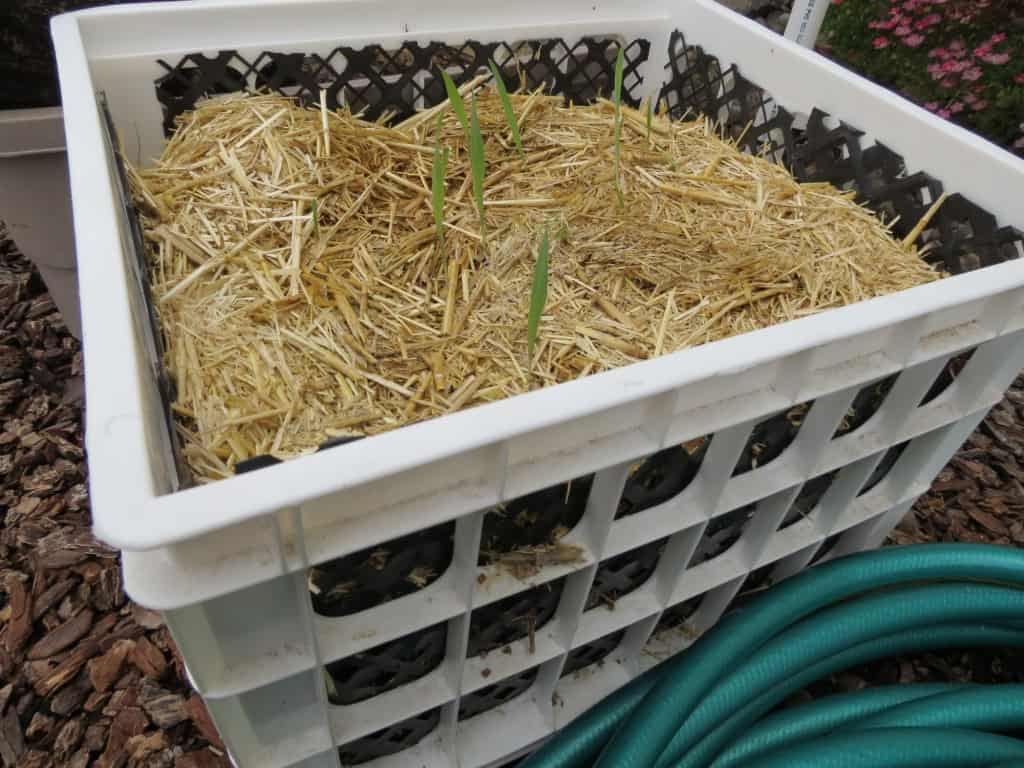
The shiitake block was broken up and placed into a small plastic storage crate filled with a mixture of alder sawdust, alder wood chips, and shredded bedding straw. To stop the material from falling out of the crate I first lined the bottom with weed block which allows water to drain and the sides with a plastic lattice. Half-inch mesh wire netting or chicken wire would work just as well. You want to leave plenty of gaps on the sides for mushrooms to develop through. Then it’s just a matter of placing the container in a shady spot and keeping the material moist.
Quick Tip
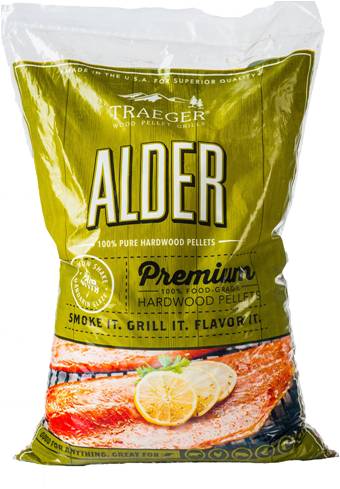
An easy source for hardwood sawdust is your local barbecue pellet supplier. Just look for the pellets made from the proper wood type. It is best to place them in a bucket and rehydrate them with water first. Then, you can layer or mix them in with your other spawn or straw.
Cultivation with Dowels in Wood
To use logs or stumps for your cultivation medium you need to pair the mushroom you want to grow with the wood it wants to consume. Field and Forest has a very nice cross-reference chart of wood vs. mushroom species here . Some mushroom species are much easier to cultivate than others, oyster and shiitake mushrooms being two of the easiest. However, all of them can be purchased as inoculated dowels that you hammer into holes you’ve pre-drilled into the wood. The smaller the piece of wood and the more dowels you hammer into it, the faster you will see mushrooms. Larger Pieces of wood and stumps will take longer to fruit but because they have more wood to consume they will produce more mushrooms and can continue producing for several years. Specifics for care and placement of your inoculated logs and/or stumps can be easily found online. While there is quite an abundance of rumor, hearsay, and innuendo regarding the difficulty of growing mushrooms at home, it is actually quite easy. You can watch many youtube videos showing complex methods of inoculating logs with dowels using rulers, drawing diamond patterns on the wood and using special tools. From my experience all the inoculated dowels care about is getting pounded into a suitable piece of wood, put in a shady area, and not left to dry out. It will take care of the rest. Just make certain to use fresh wood that was recently cut since unwanted fungal species are quick to inhabit wood that has been lying around. The Turkey Tail mushroom is one of those opportunistic species and is not fussy about wood type. A list of sources for purchasing inoculated dowels is given below.
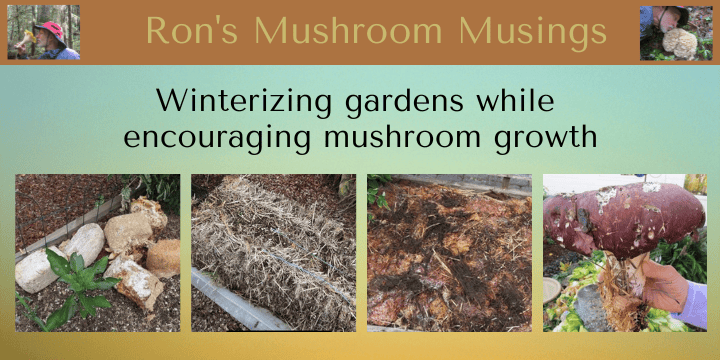
Cultivation in your Garden Beds
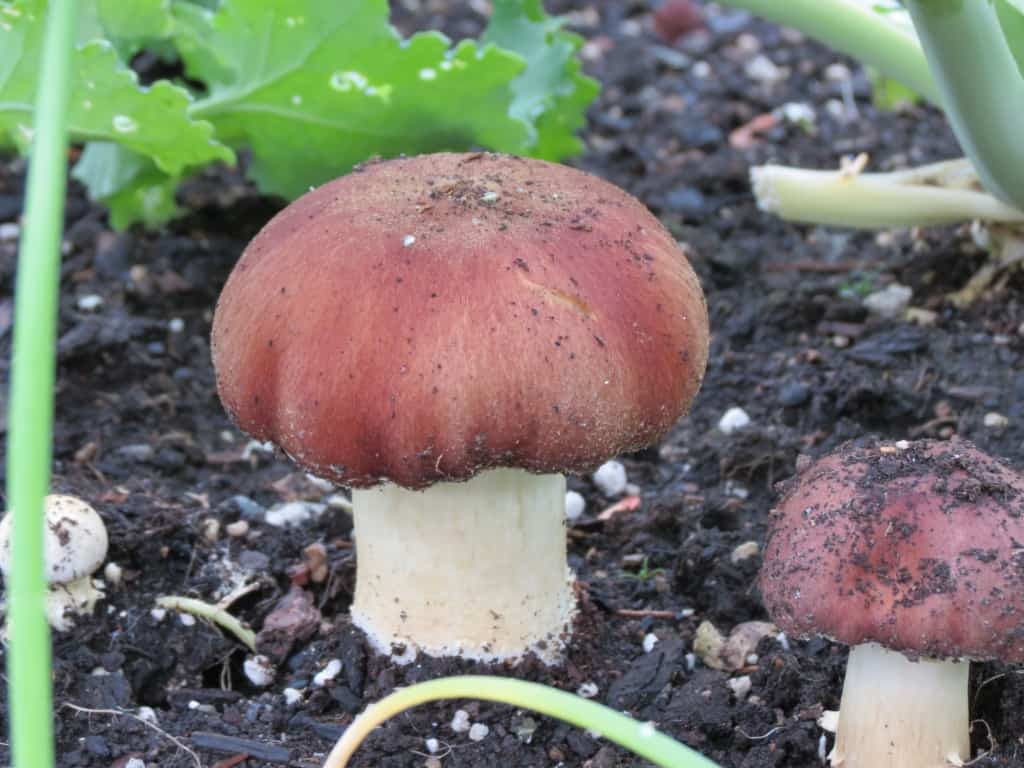
Lastly, you can improve the soil structure of your garden beds and produce edible mushrooms by adding the Garden Giant (Stropharia rugosoannulata) to your soil. One way to accomplish this is to simply dig a shallow trench in your garden, add a mixture of straw and alder sawdust or chips, and place chunks of Garden Giant spawn in with it. Cover back up with some of the soil and keep it moist. If you inoculate your garden bed in the fall of the year you could see mushrooms pop up in the spring and/or summer. To keep your newly planted fungi happy, just keep adding wood and straw now and again to maintain a constant food source. Do not over feed your mushroom patch as it will be less likely to fruit.
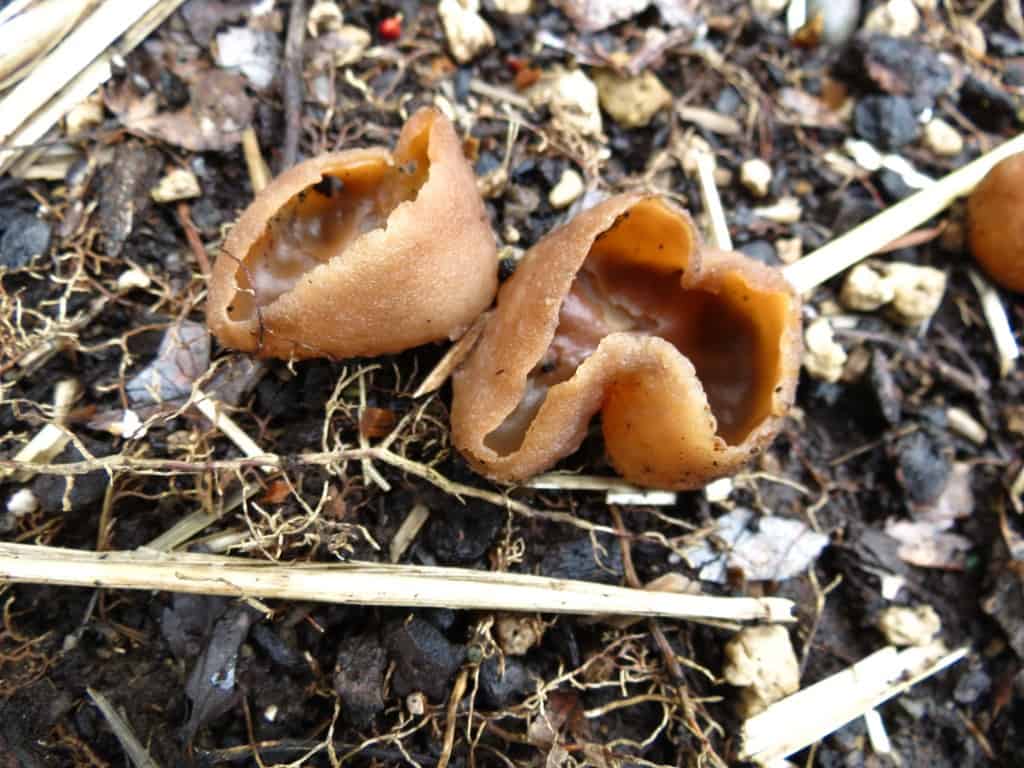
It is also important to remember that when you place organic material outside it becomes exposed to any and all fungal spores floating around your area. Unless you’ve been using chemicals harmful to fungi as part of your normal gardening routine, you already have billions of beneficial fungi, microbes, and other creatures in your soil. Many of these organisms like the same kinds of food and will happily or perhaps begrudgingly share this bounty with each other. I often see cup fungus popping up in my garden beds where I’ve added straw and alder chips but it has never impeded the Garden Giant from co-existing and fruiting for us every year.
If you prefer video versions of the above methods check out Field and Forest on YouTube
If you are really serious about mushroom farming, considering taking a 5 to 7 day in depth hands-on coarse at Fungi for the People located in Dexter, Oregon. More info here.
For online courses, check out Home Mushroom Cultivation with Milkwood or Mycologos by Peter McCoy
Sources for inoculated dowels and spawn blocks
The Mushroomery – Lebanon, Oregon: Sells at the Farmers Markets in Eugene, Corvallis, Portland, and Beaverton
Rainforest Mushrooms– Yachats, Oregon: Sells at the Farmers Markets in Eugene, Yachats, and Newport
Field and Forest – Peshtigo, Wisconsin: Not local, but has an excellent reputation
Additional Resources
Getting started with mushroom cultivation – Mykoweb
NAMA Cultivation Committee – Look at the Cultivation Related Pages
Lots more resources, too many to list – The Mushroom Growers Newsletter
How to grow mushrooms in buckets or containers – North Spore
Mushroom Cultivation blog – Field and Forest